Dangling Decor for Spring and Easter Fun!

Hello one and all!
Easter is fast approaching, so we thought we'd share with you the steps to making your own wonderful dangling egg decorations. Hang them up in your window, create a mobile, or put them up around your house and garden as a chocolate-free egg hunt alternative! (Just don't leave them out in the rain!)
Let's start off with what you'll need:
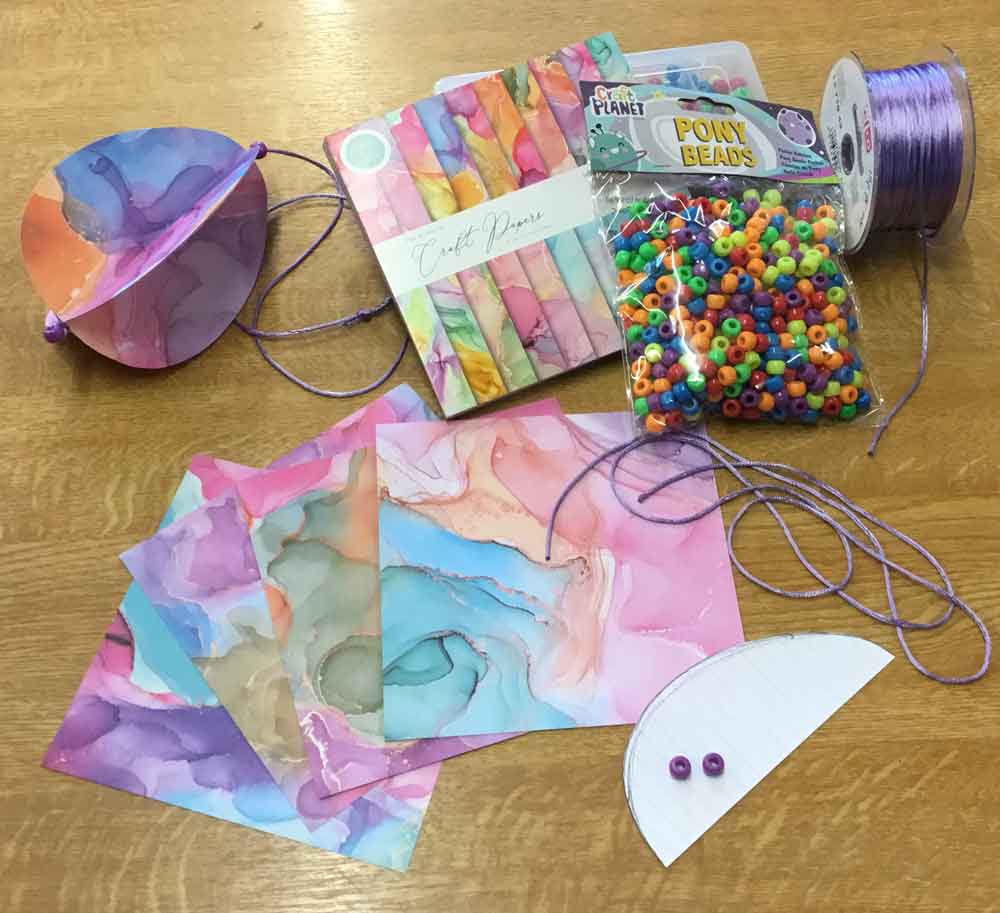
Decorative paper/card of your choice (I'm using the 6"x6" Ink Drops Candy collection for it's brights and pastels)
Colourful cord
Pony Beads
Scissors for cutting and adhesive for sticking (I used double-sided tape, but most craft glues will do)
and a half-egg template (I free-handed mine, but you can find one online if you'd prefer)
Step 1: Your Paper
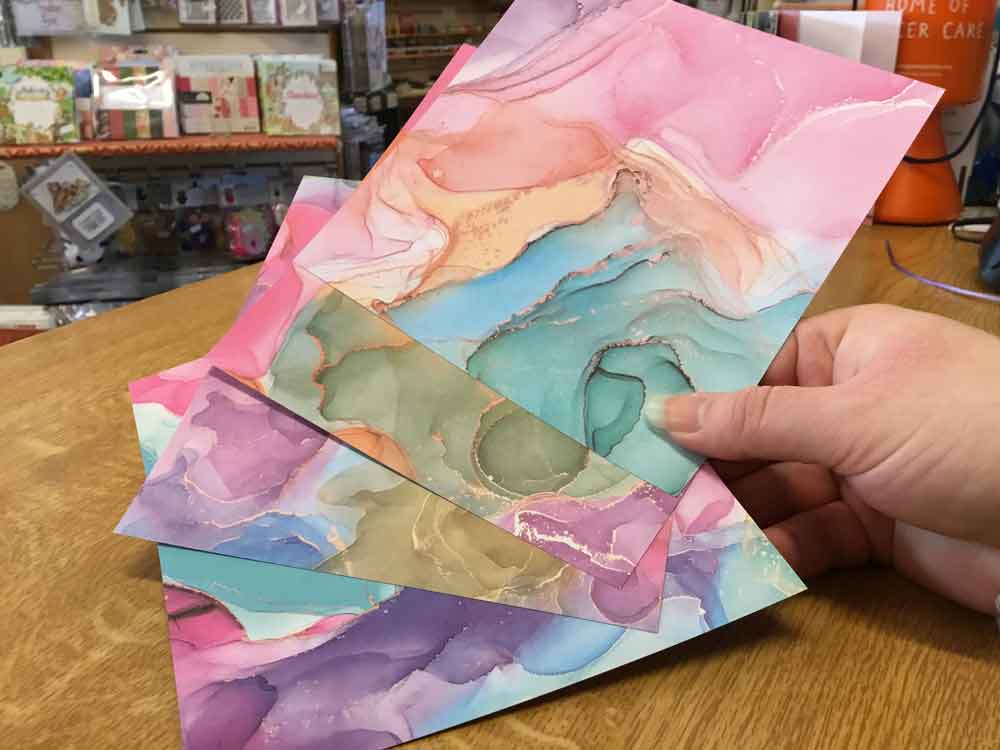
Your first task, should you choose to accept it, is to select your papers.
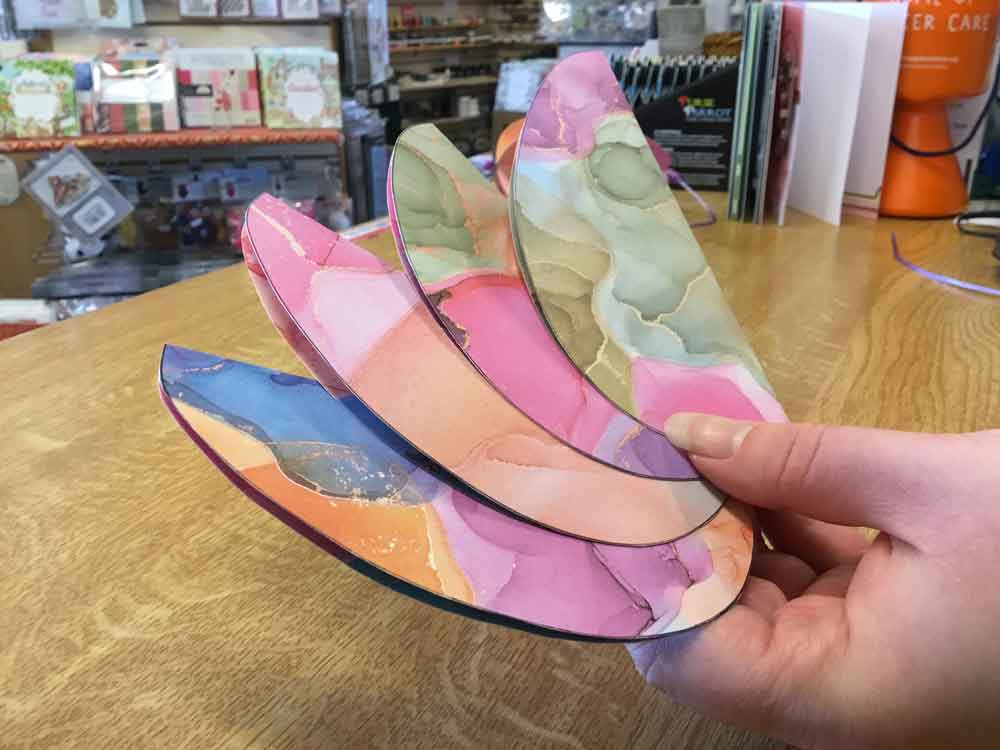
You'll need a minimum of 3 sheets, but you can use as many as you like. I'm using 4 in my example. If you happen to be using double-sided designs like I am, be sure to make note of which side you want visible.
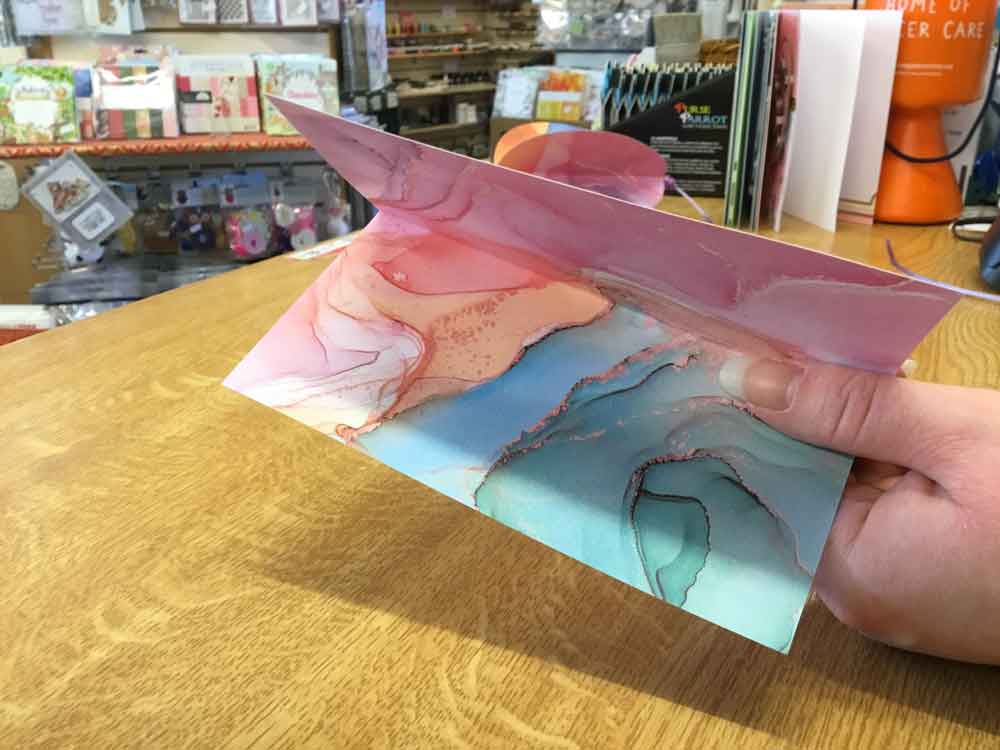
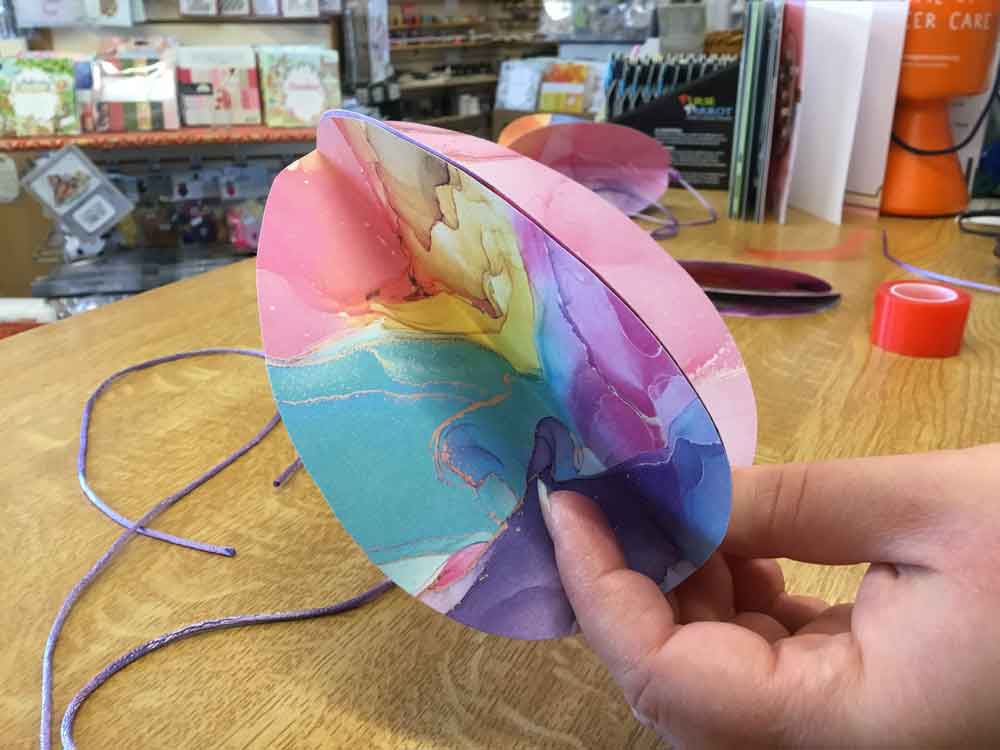
Once you've made your selection, fold your paper in half with your visible side coming together on the inside.
Then grab your template and place it along the fold line - drawing around it onto your paper.
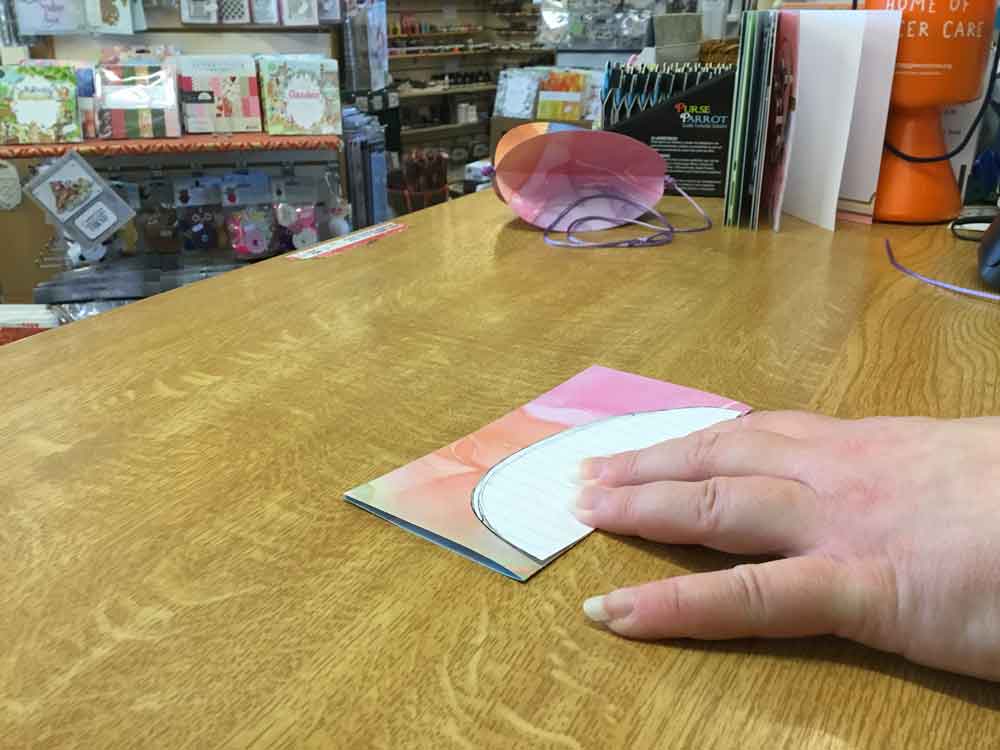
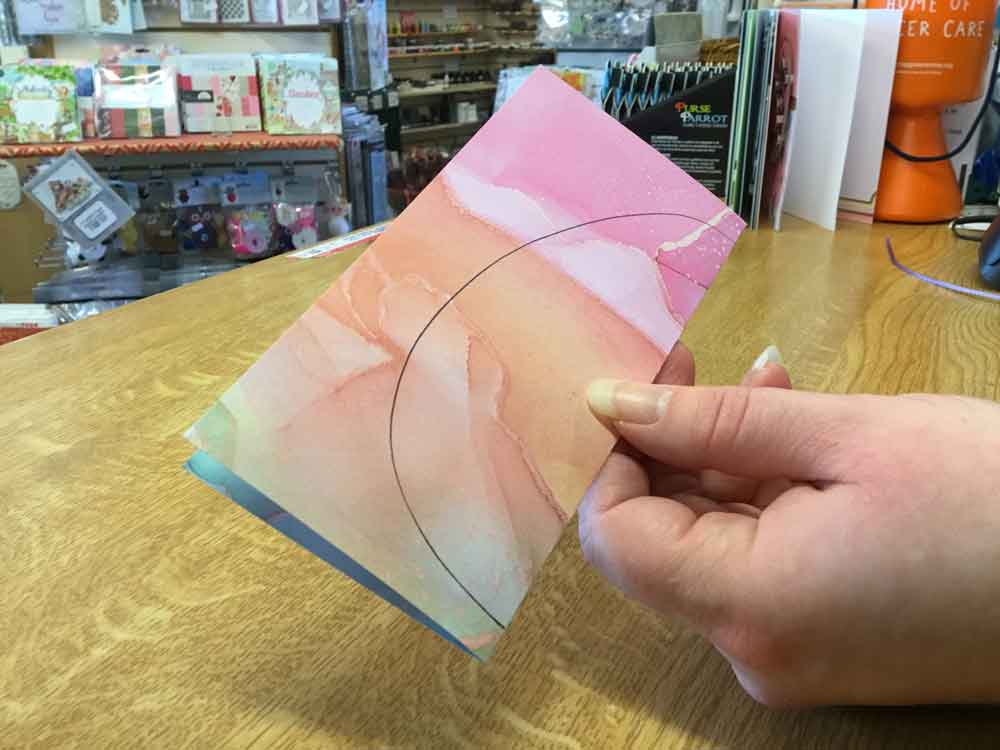
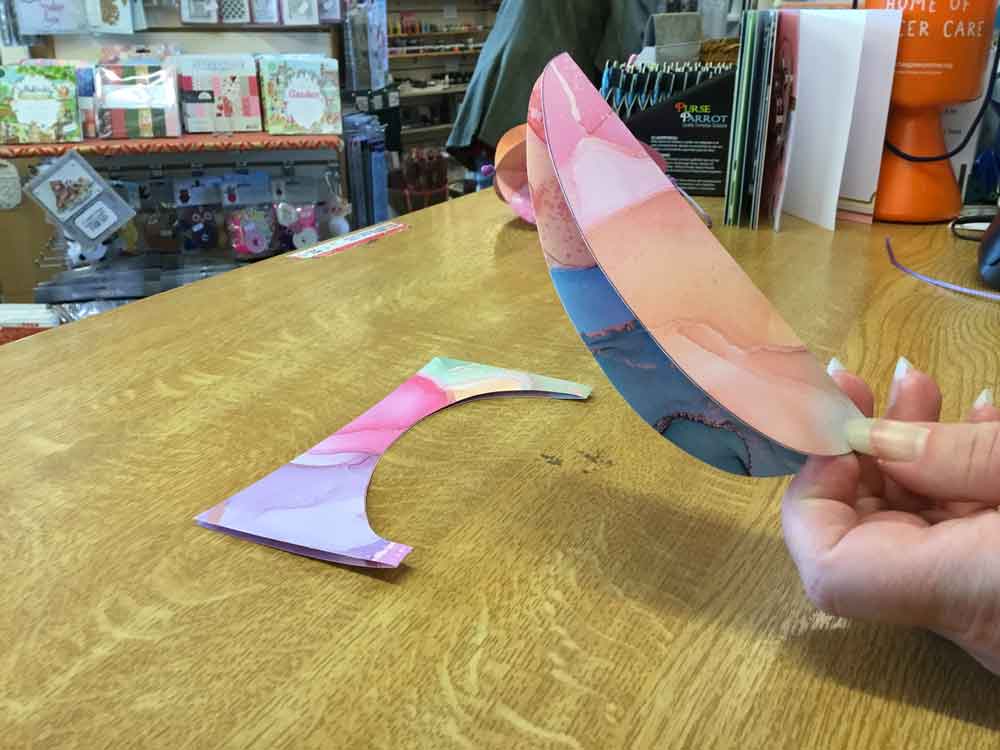
With your paper still folded, cut along the line so you're getting both sides at the same time.
Repeat this step for all your sheets.
Step 2: Your Cord
Now that your paper is prepped, you need to sort out your cord.
You can just stick it down directly inside your egg, but if you want a little extra style, here's a clever way to add pony beads with minimal fuss.
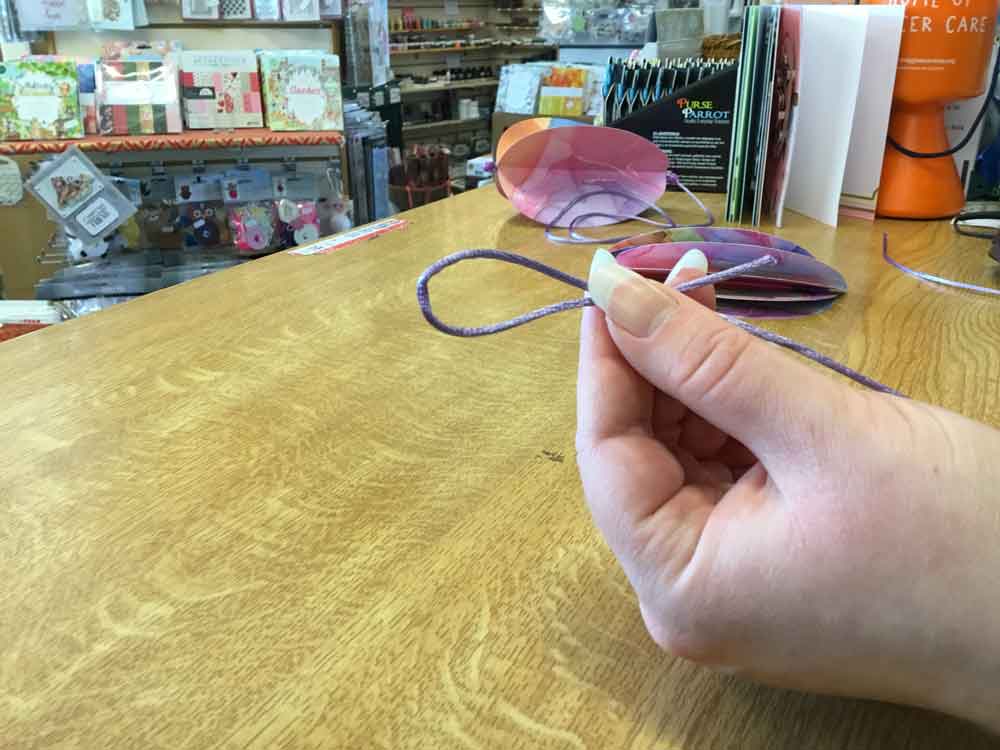
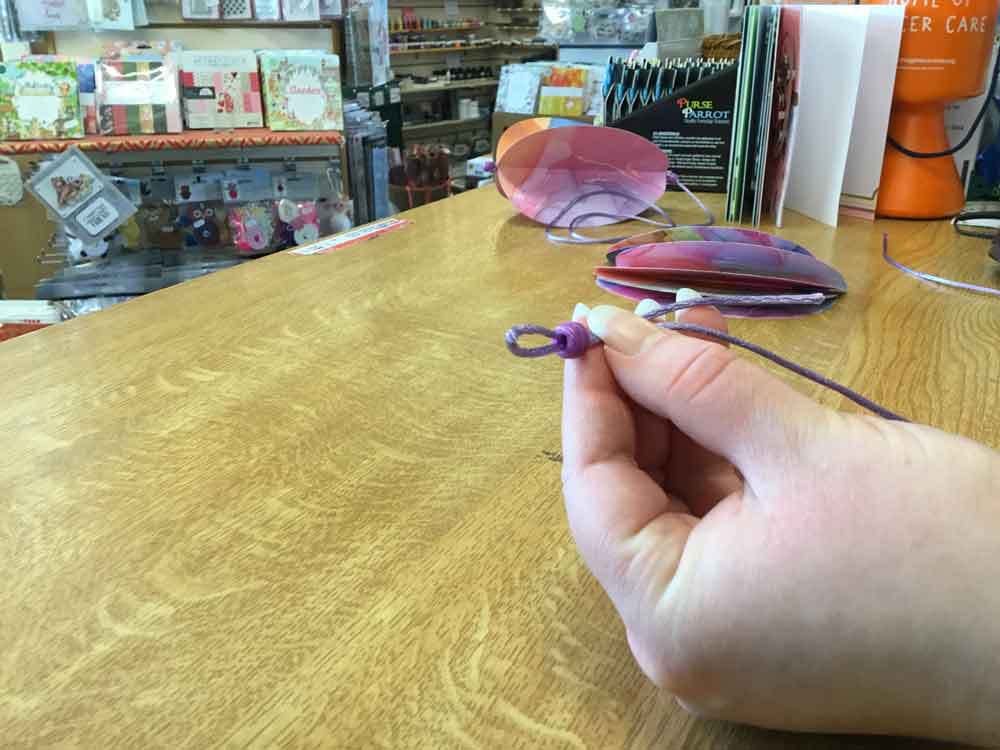
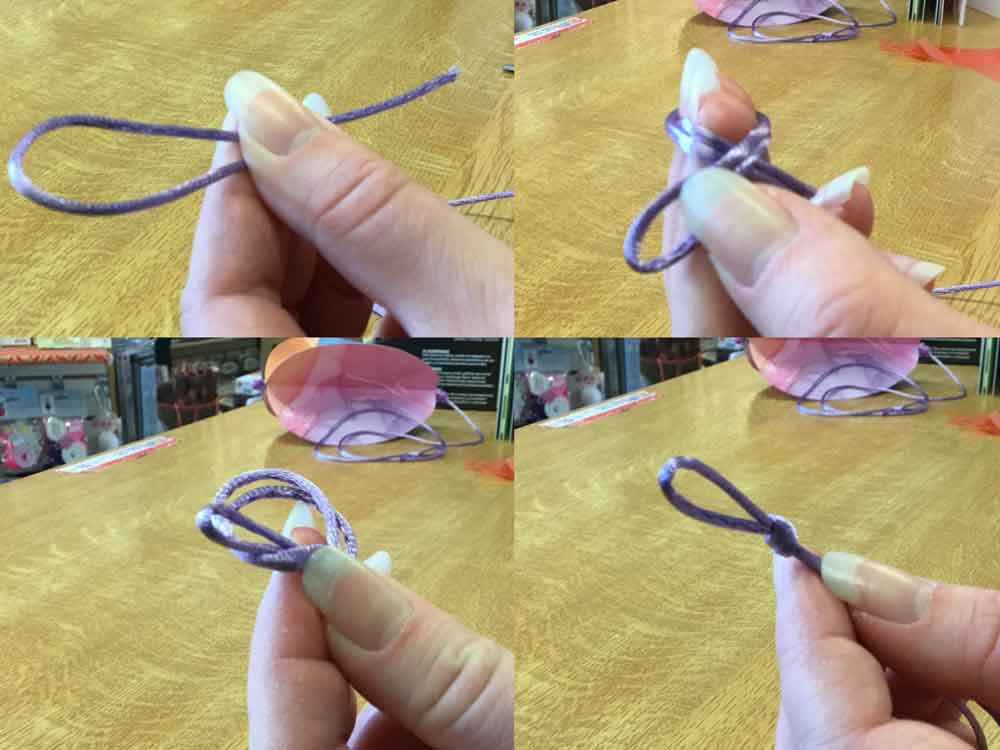
First, loop the end of your cord back on itself, with your tail overlap a little shorter than your egg shape.
Then thread it through your first pony bead, but don't pull it all the way through!
Now take the looped end and stick your fingertips through to grab hold of the pony bead, pulling it back through the loop.
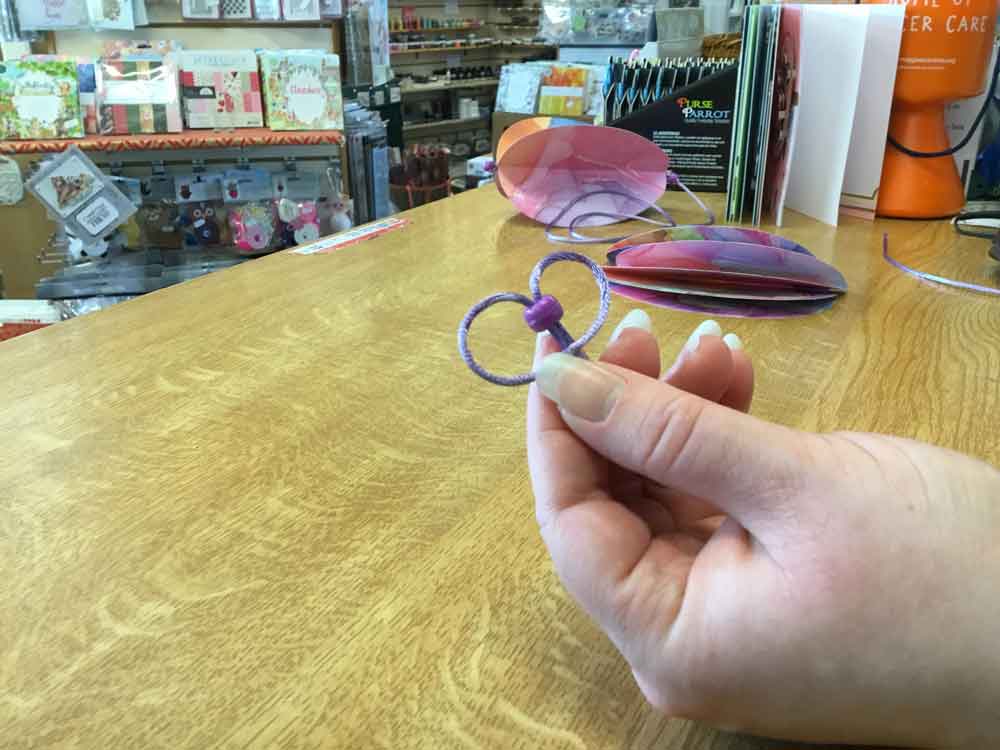
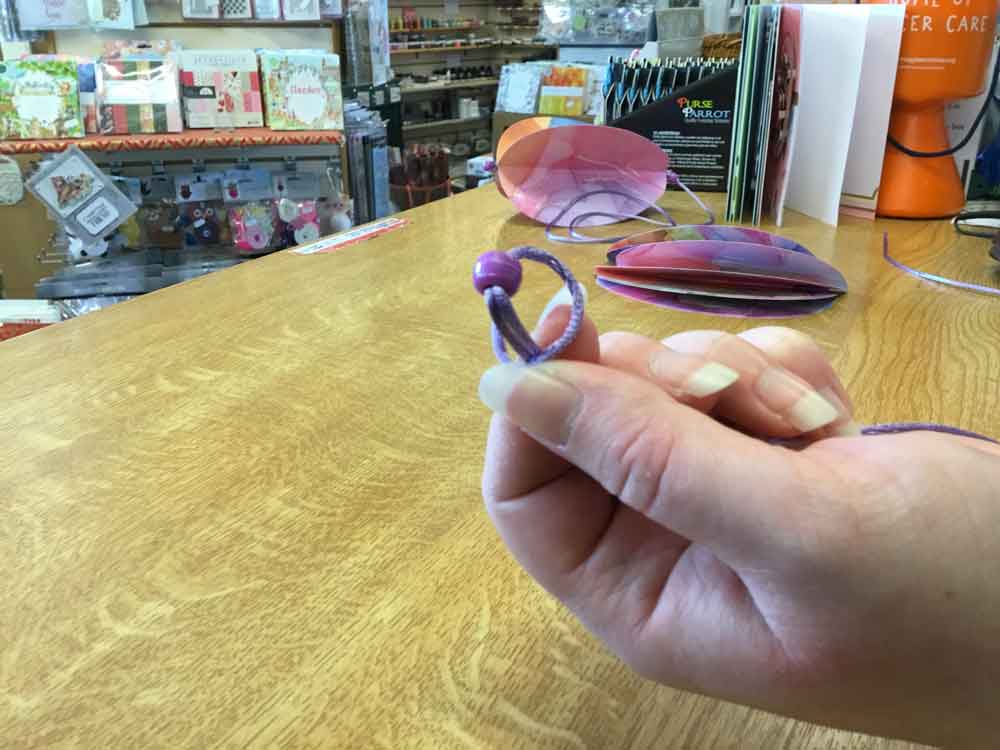

Pull the pony bead until the loop has tightened around it, securing the bead in place.
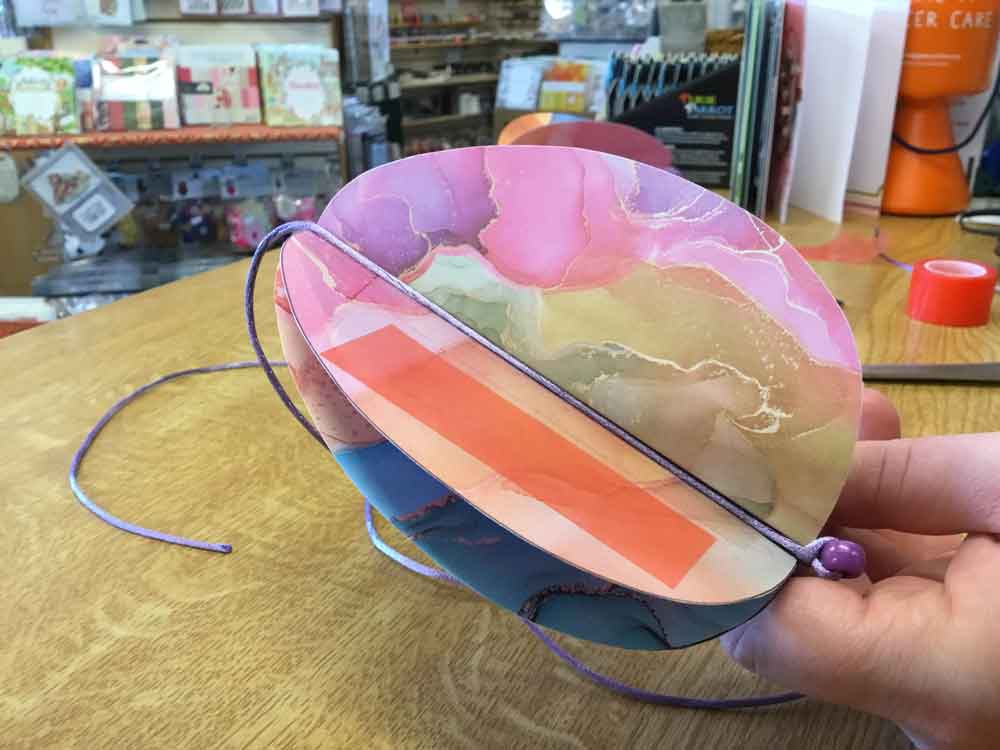
Step 3: Putting it all together
This is where you'll need your choice of adhesive. As previously mentioned, I'm using double-sided tape, but any craft glue should do the job just as well.
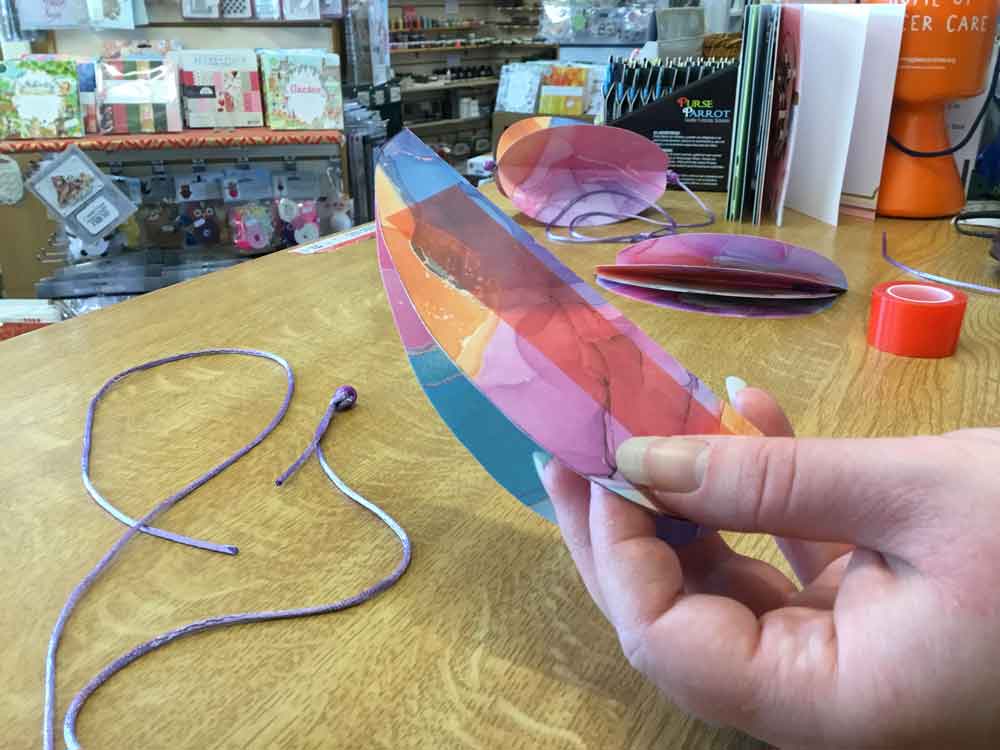
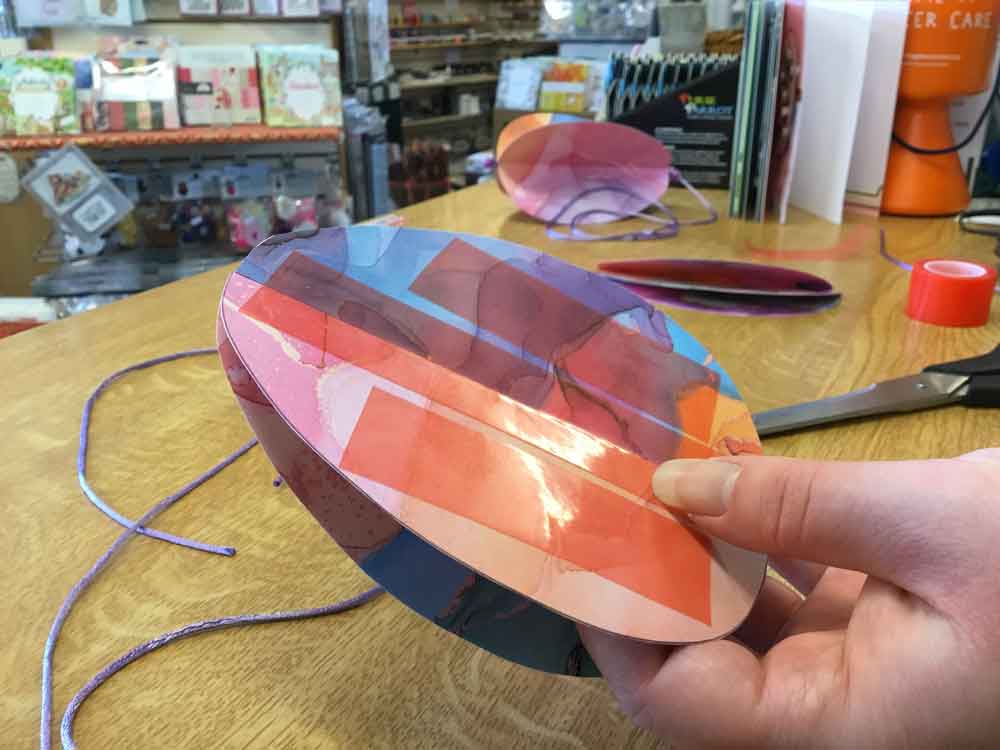
Take one of your prepared egg shapes and apply your tape/glue to one side of it.
Then take a second shape and stick them together like so.
Flip your adhered pieces over and apply more adhesive. I've done the double surface all at once, but you can do one side at a time if it's easier for you. What's important is to get some of your adhesive down the middle.
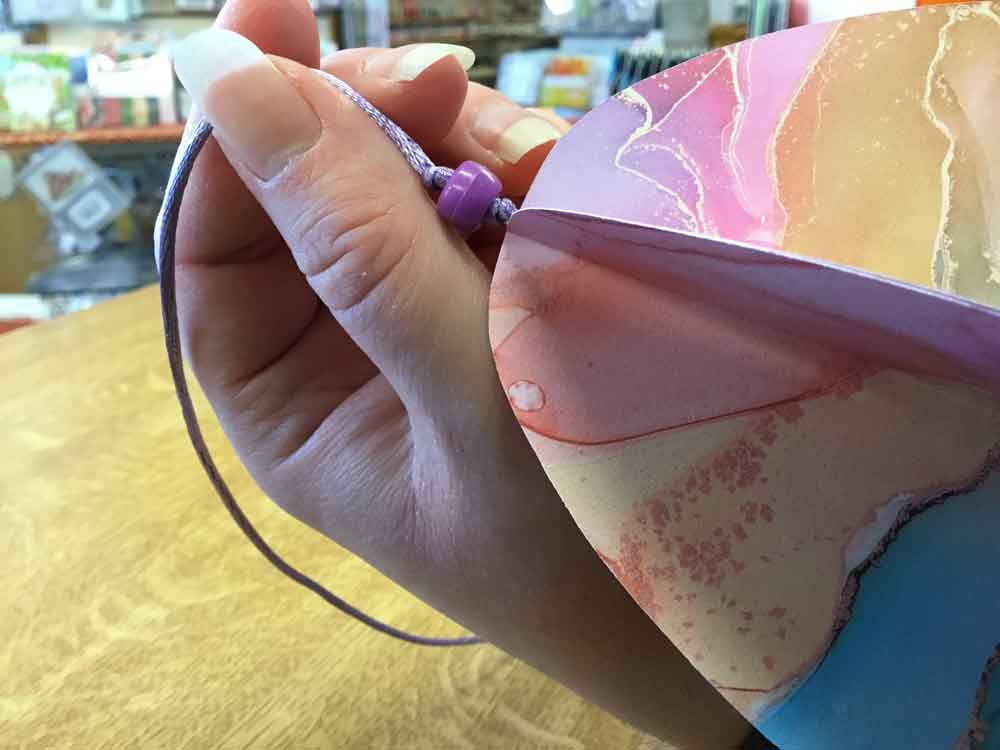
Take your cord and stick it down the very centre of the egg, making sure to get the overlap from your loop tucked in too.
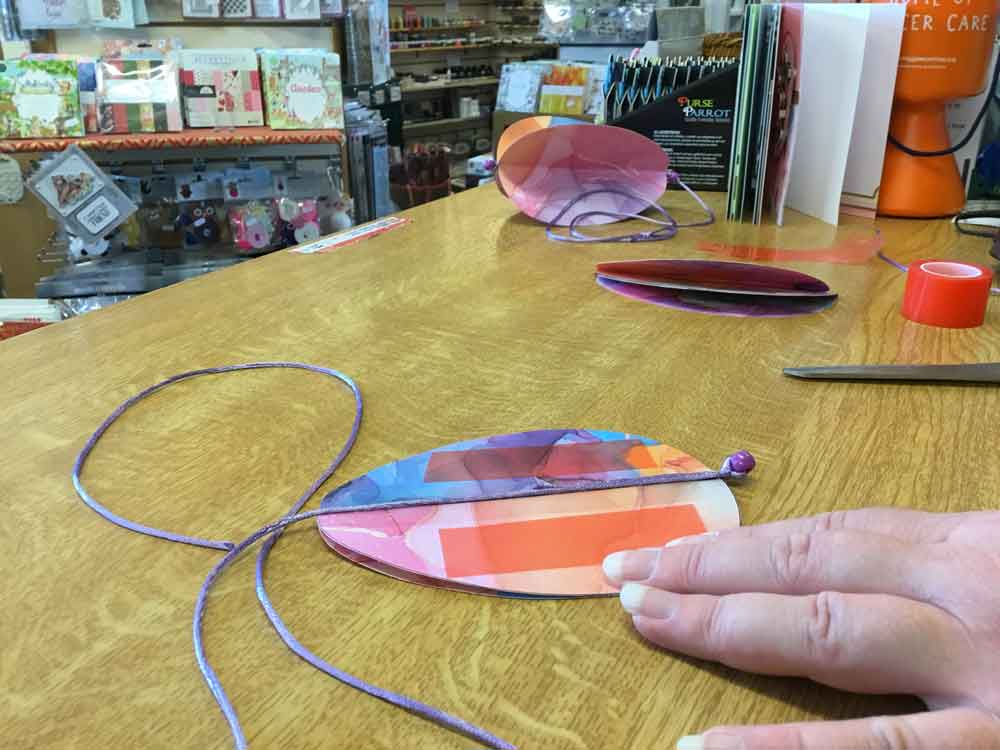
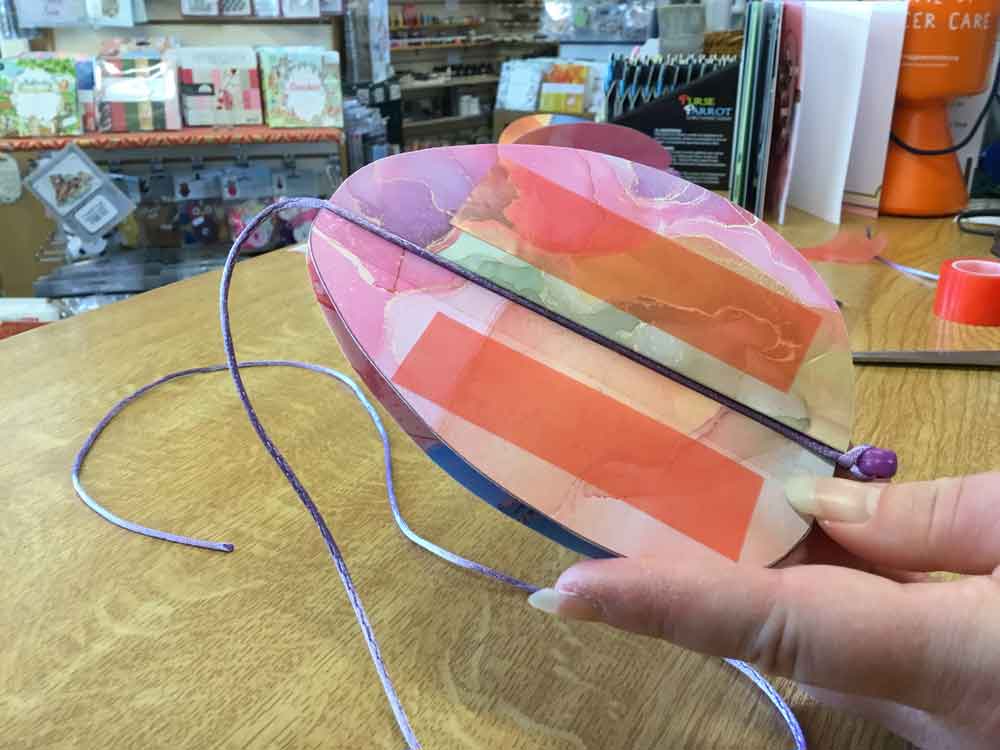
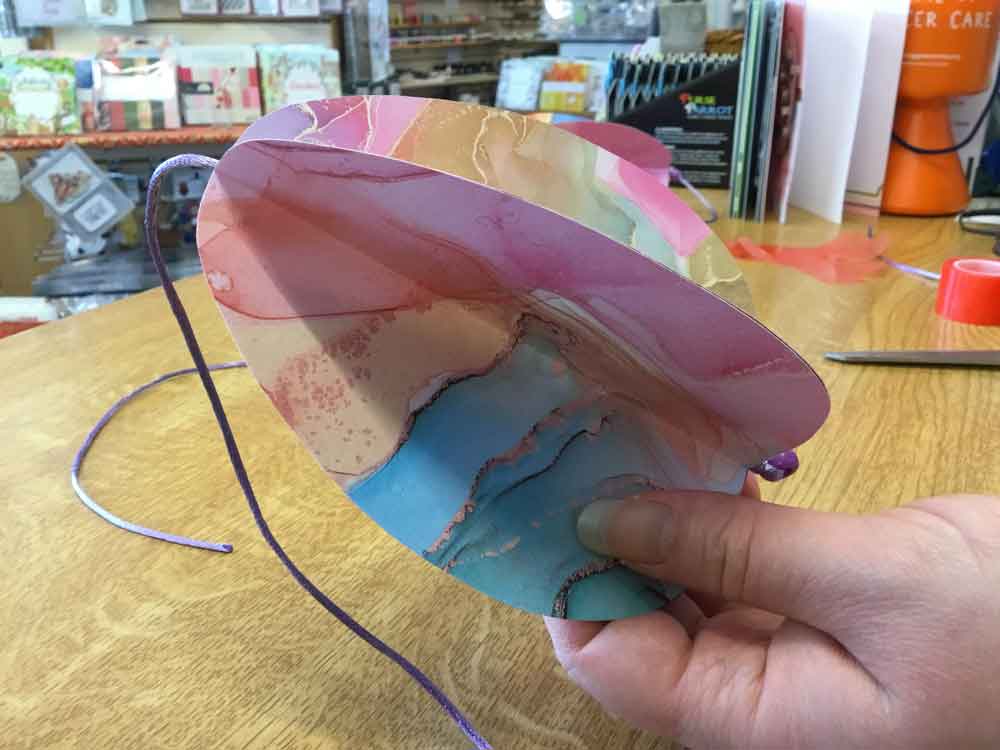
Now stick your third piece on. The cord will likely make lining up the folds tricky, so you might want to line up the outer edges this time to make it easier on yourself.
Apply adhesive to the remaining sides and put on your last piece.
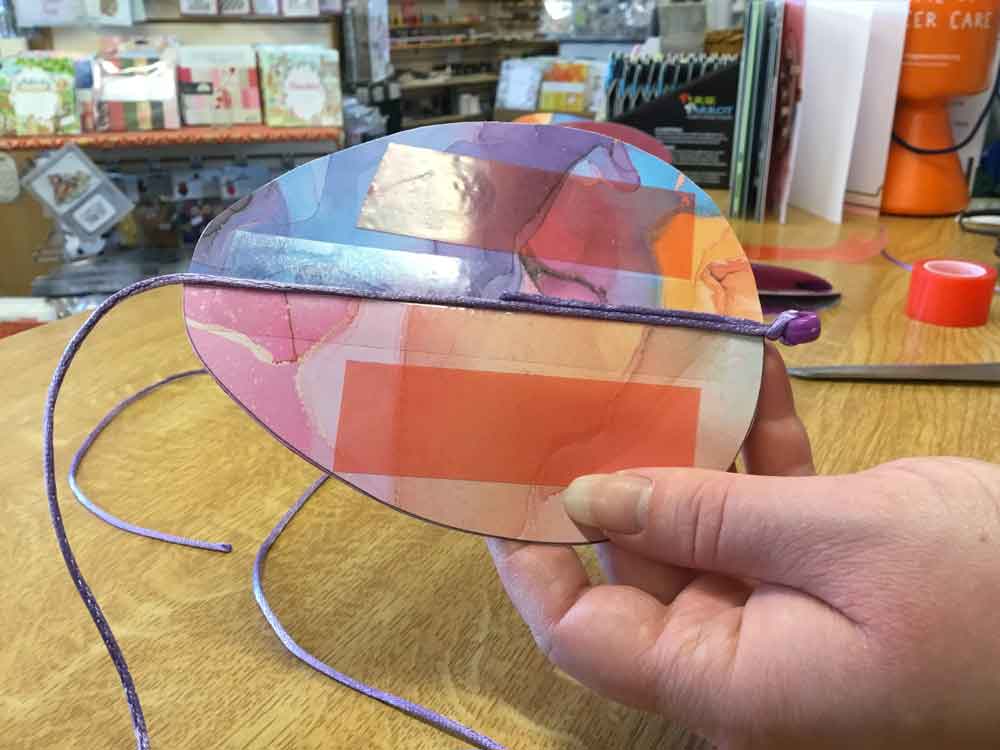
Now all that's left is to put on the second pony bead and add a loop to the end!
To get the look I have, first make a knot right at the top ot the egg. This will act as a little barrier between the egg and the bead to mimic the spacing on the bottom bead.
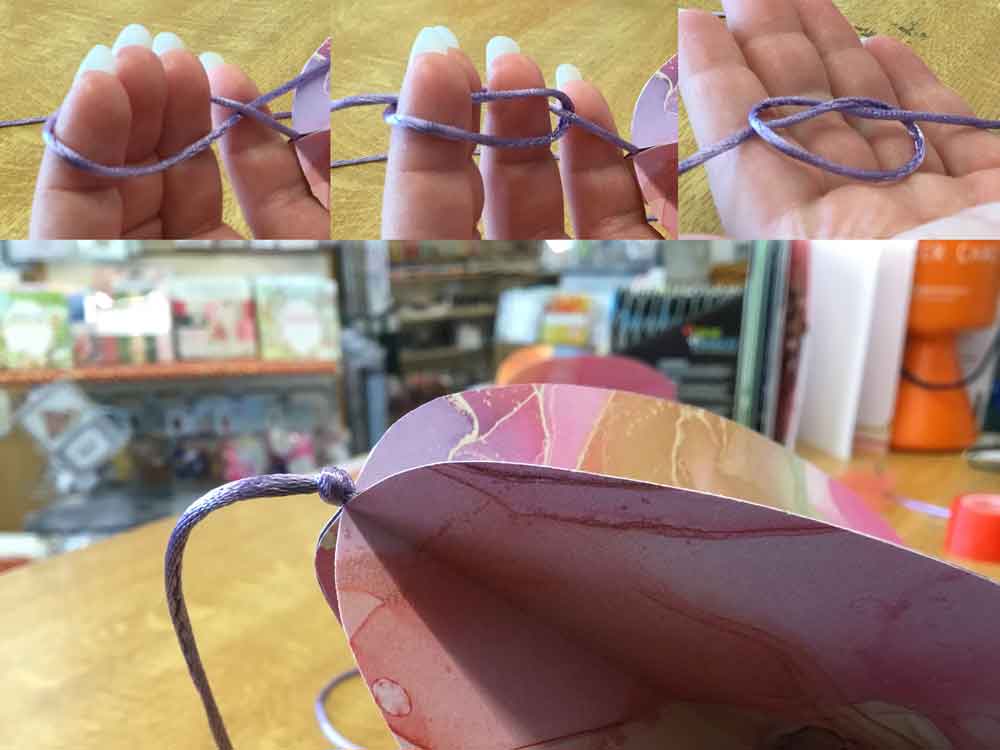
Slip the second bead onto the cord and tie another knot above it to prevent it slipping up again.
To hang your masterpiece up, trim your cord to the desired length and make a loop at the very end. You can do this in various ways, but I did mine like so.
And there you have it: dangling decorative egg complete!
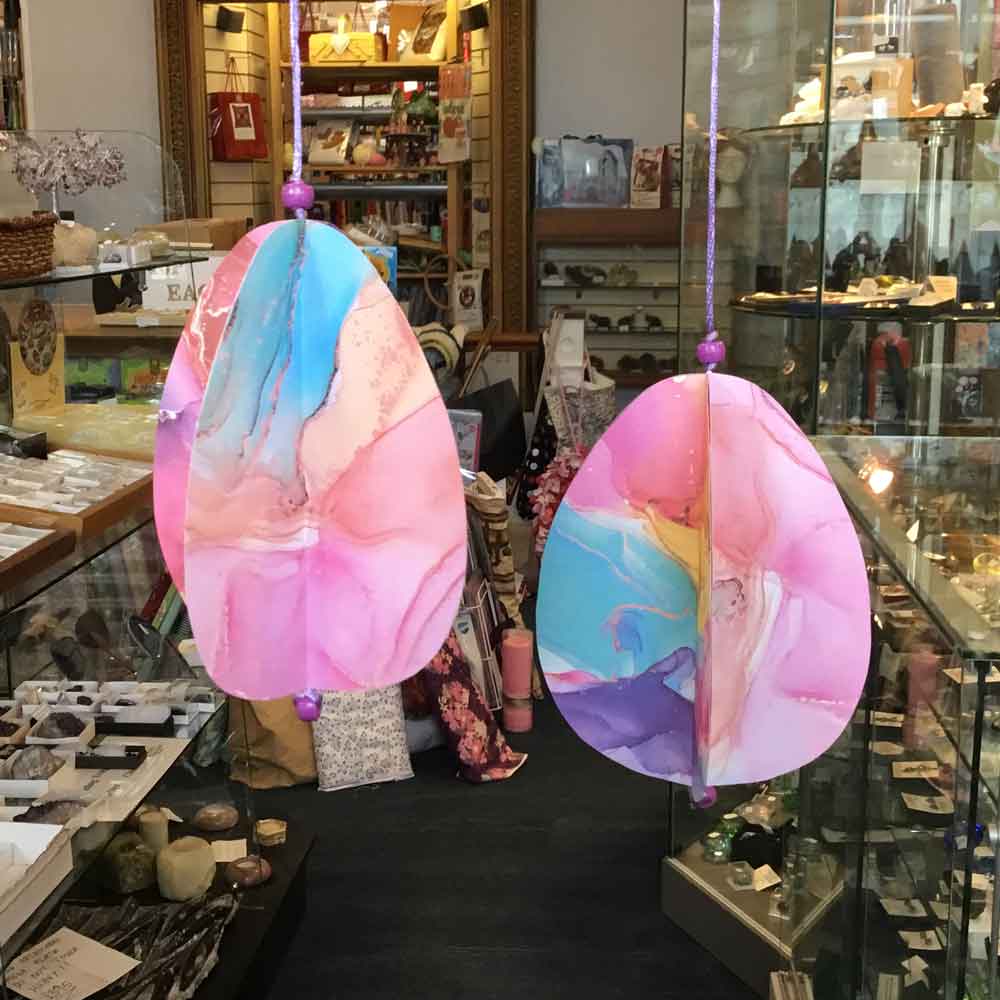
Make as many as you like to decorate your home and space this easter. (Varying the cord lengths makes for a wonderful effect when multiple are placed together.) You can even embellish them for that extra special touch.
How will you make use of this charming decor?
OUR BLOG POST

Introducing Pebeo Setacolor Leather Paints: Customization & Repair for Leather Products
Pebeo Setacolor Leather PaintsOverviewJust in time for your creative projects, we’re thrilled to ann...
A Guide to Sewing Needles and finding the point!
A Guide to Sewing Needles and finding the point!Sewing needles are the chief tool used for sewi...

Sewing Pins - What a choice!!
The helpful guide to choosing what pin does what and where best to stick it!Sewing pins are one of...

Dangling Decor for Spring and Easter Fun!
Hello one and all!Easter is fast approaching, so we thought we'd share with you the steps to making...

WYS Elements DK : Sustainable Knitting
It's now more important than ever to look after our planet and there are lots of little adjustments...

The Importance of Mistakes
It’s easy to feel discouraged when we’re not immediately great at a craft but mistakes are all part...